
With Dynatrace AutomationEngine and Workflows, you can build powerful workflows featuring conditions and loops. These workflows can fetch data from external systems, determine ownership, trigger notifications, or create tickets. However, providing the perfect integration to meet every unique need is not always straightforward.
To address this challenge, the Dynatrace App Toolkit allows you to create custom workflow actions, providing seamless integration with third-party systems. This extends the capabilities of AutomationEngine for all users in your environment.
Prerequisites
Before you begin, please make sure you have the following:
- Access to a Dynatrace environment (for example
https://environment-id.apps.dynatrace.com) where you can install and access Dynatrace® Apps and run Workflows. - Most recent LTS version of js (version 20, as of May 2024).
- IDE or text editor of your choice (VS Code recommended)
Now, consider your use case! What do you wish to automate? Is there an API available for this purpose? Write down details regarding authentication and the necessary API Calls; you can also experiment with these API calls using tools like Postman, Insomnia, Apigee, or similar.
In this example, we will query electricity prices for the next 24 hours from https://www.awattar.de/services/api (for example, at the time of writing, no authentication is required for GET https://api.awattar.de/v1/marketdata), and figure out what time of day electricity will be the cheapest tomorrow.
Let’s create an app
We’re ready to create an app and implement our first custom Workflow action.
- Use the Dynatrace App Toolkit to create a new app:
npx dt-app@latest create --environment-url https://<environment-id>.apps.dynatrace.com
When asked for the name, choose something short and catchy, and adhere to app naming guidelines. In our example, we will call the app
awattar-actions. - Once the command above has finished, you should see a new folder (based on the provided app name), which you can open directly in your IDE.
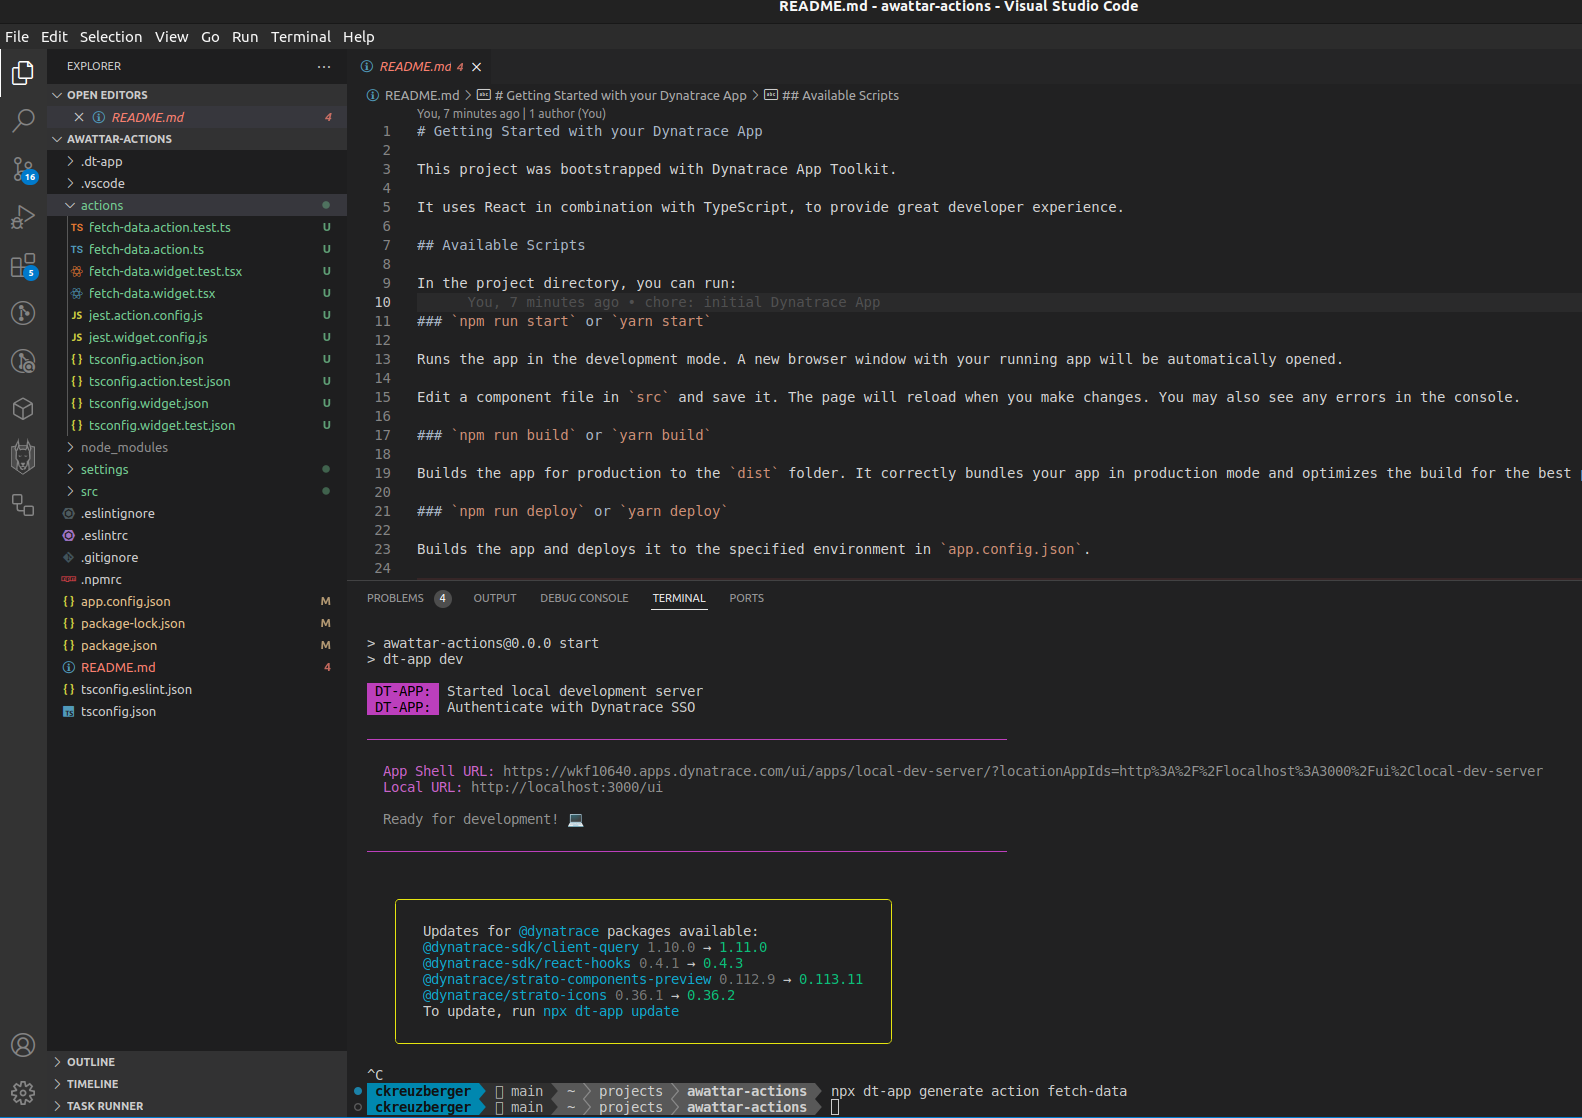
- Within your IDE, open a new terminal window (you can, of course, also perform the same commands in a terminal window of your choice outside of the IDE) and execute the following command to verify that everything is working:
npm run start - You should now be greeted with your app’s welcome page, which states, “Welcome To Your Dynatrace App.”

- Stop this command in the terminal by pressing
CTRL C. - Create a new custom workflow action using
npx dt-app generate action fetch-data - Within your IDE (or File Explorer), you should be able to see newly created files in the actions folder (feel free to take a closer look at
fetch-data.action.tsandfetch-data.widget.ts).
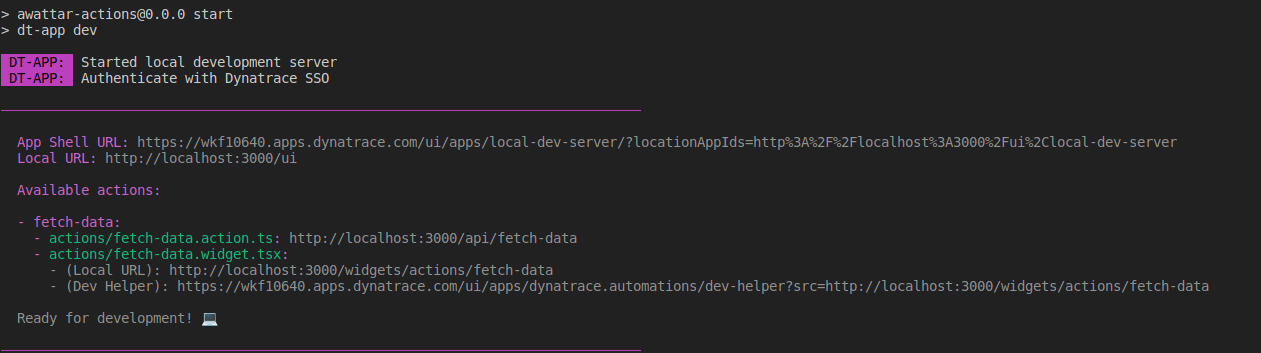
- Again, run
npm run startto verify the setup’s success. Feel free to take a closer look at the output of this command, as it should provide some details about the workflow action.
- We now need to include our changes in the newly created action, so let’s open
fetch-data.action.tsand change its implementation to the following.interface FetchDataInput { start: string | undefined; end: string | undefined; } export default async (payload: FetchDataInput) => { // Best Practice: Separate Base URL of the Service and the targetURL of the API const baseUrl = 'https://api.awattar.de'; const apiEndpoint = '/v1/marketdata'; // re-construct the URL using the built-in URL const targetUrl = new URL(apiEndpoint, baseUrl); // add query parameters for start and end (if they are defined) if (payload.start) { targetUrl.searchParams.append('start', payload.start); } if (payload.end) { targetUrl.searchParams.append('end', payload.end); } // use fetch to call the API return await fetch(targetUrl.toString()) .then((response) => response.json()); }; - We also need to adapt our widget
fetch-data.widget.tsxto properly reflect the two input parameters in the action:startandend. Change the implementation to what’s shown below.import { AutomationTextInput } from '@dynatrace/automation-action-components'; import { FormField, Hint, Label } from '@dynatrace/strato-components-preview'; import { ActionWidget } from '@dynatrace-sdk/automation-action-utils'; import React from 'react'; interface FetchDataInput { start: string | undefined; end: string | undefined; } const FetchDataWidget: ActionWidget<FetchDataInput> = (props) => { const { value, onValueChanged } = props; const updateValue = (newValue: Partial<FetchDataInput>) => { onValueChanged({ ...value, ...newValue }); }; return ( <> <FormField> <Label>Start</Label> <AutomationTextInput value={value.start} onChange={(start) => updateValue({ start })} /> <Hint>Optional - see https://www.awattar.de/services/api for details</Hint> </FormField> <FormField> <Label>End</Label> <AutomationTextInput value={value.end} onChange={(end) => updateValue({ end })} /> <Hint>Optional - see https://www.awattar.de/services/api for details</Hint> </FormField> </> ); }; export default FetchDataWidget; - Now, as a final step, deploy your app to your environment using
npm run deploy.
Try it out
- To try it out, go to your environment and navigate to Workflows.
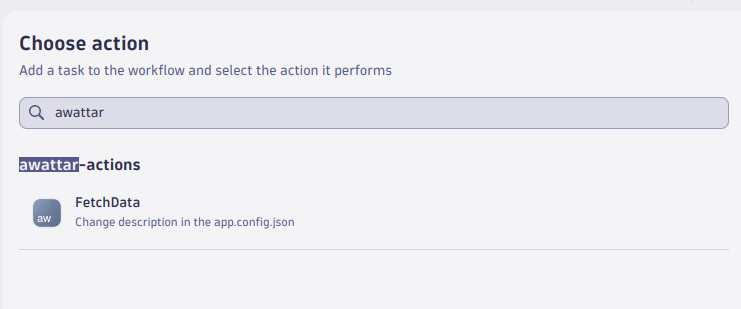
- Create a new workflow, choose On demand trigger, and add a new task.
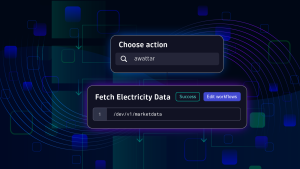
- Search for the action you created, for instance,
awattar, and select it.
- You can omit any configuration for now. Let’s try it out; select Save and Run on the top.
- You’ll likely get the following error message about a blocked request. Please follow the guide provided to allow outbound API access to the host.
Error: Blocked request to 'api.awattar.de' (host not in allowlist). To find out about how to manage allowed domains.
please visit https://dt-url.net/allow-outbound-connections
- Once done, you can edit and rerun the workflow, and you should see a result.
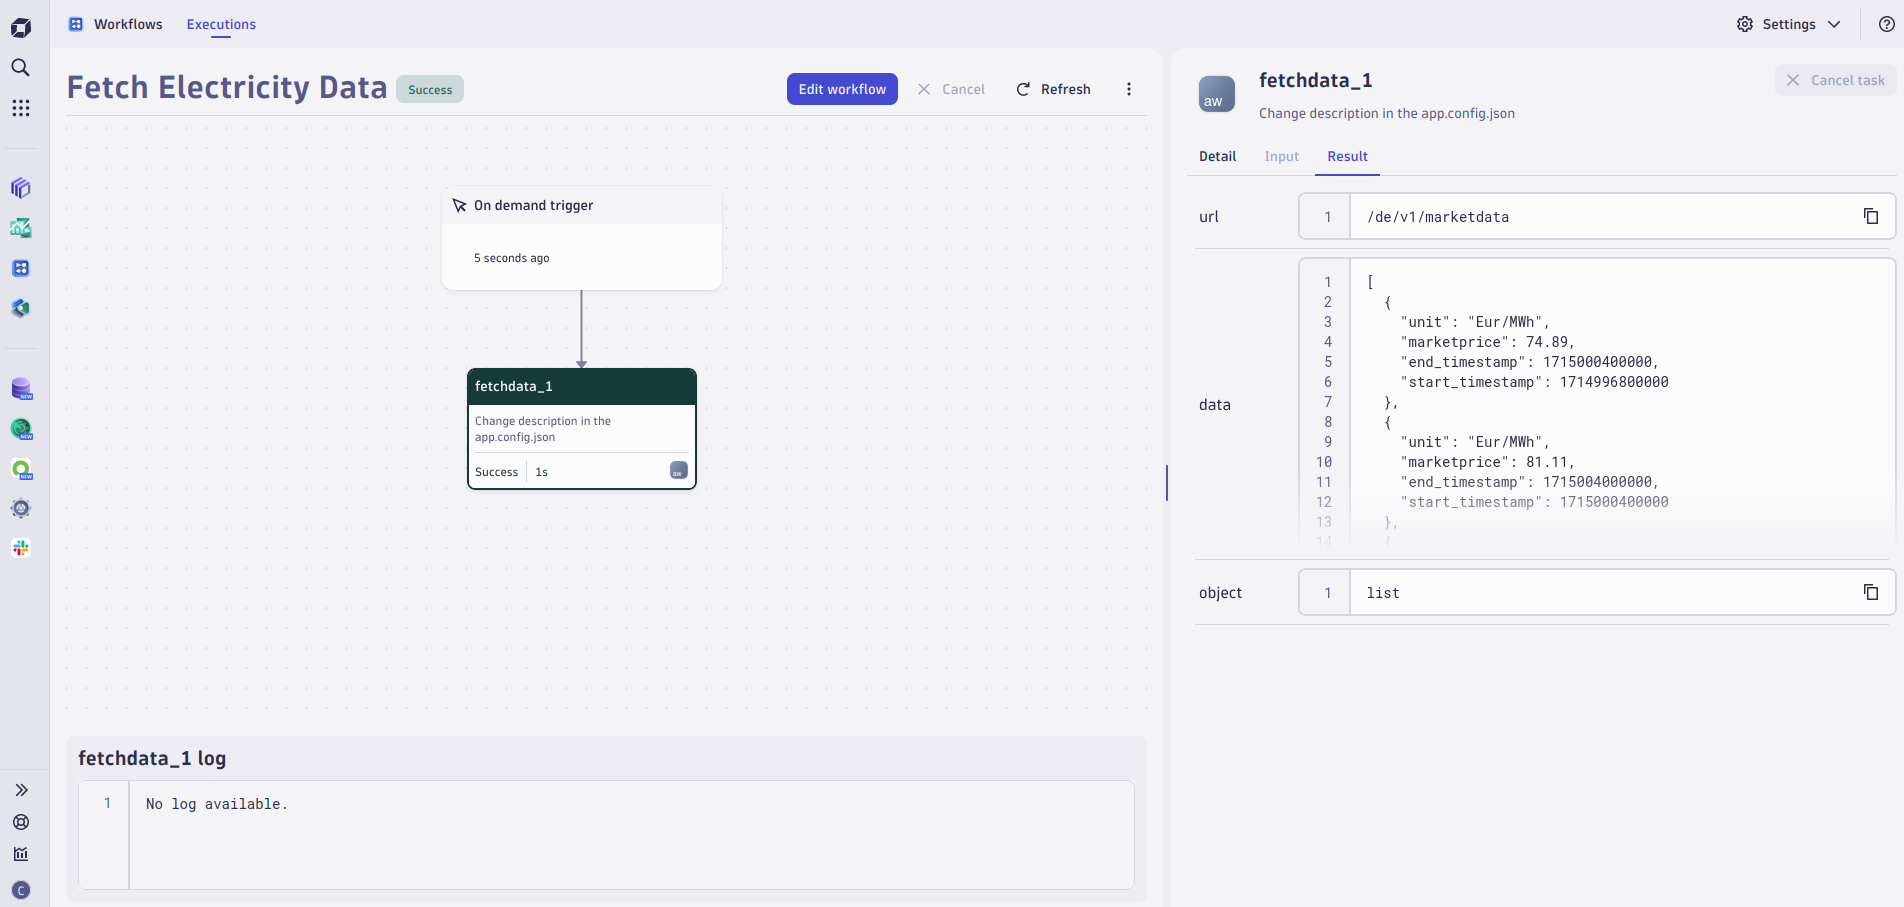
Conclusion
We created a simple workflow action within a few minutes to fetch data from a third party API. In an additional step, we can process the received data points and figure out the minimum. This can be done using a run javascript action and the following code snippet:
import { execution } from '@dynatrace-sdk/automation-utils';
export default async function ({ execution_id }) {
  const ex = await execution(execution_id);
  const result = (await ex.result('fetchdata_1')).data;
  // Initialize with first item
  var minItem = result[0];
  // Loop over array and find the actual minimum
  for (var item of result) {
    if (item.marketprice < minItem.marketprice) {
      minItem = item;
    }
  }
  return {
    // convert start and end into something human readable
    start_timestamp: (new Date(minItem.start_timestamp)).toLocaleString(),
    end_timestamp: (new Date(minItem.end_timestamp)).toLocaleString(),
    // keep marketprice and unit
    marketprice: minItem.marketprice,
    unit: minItem.unit
  };
}
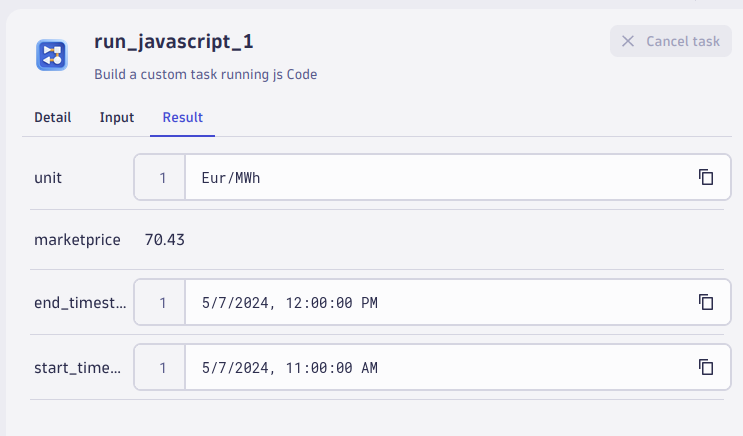
When executing this workflow, you should eventually see a result like this:

Looking for answers?
Start a new discussion or ask for help in our Q&A forum.
Go to forum