Workflows quick start guide
Latest Dynatrace
Let's walk through a Hello World example, add some tasks, and set an automatic trigger.
Hello World
In this procedure, we create a workflow with a single Run JavaScript task and run it.
You don't need to write JavaScript for this procedure; we'll use the default sample JavaScript.
Familiarize yourself with basic Workflows activities
- Verify that you have all the permissions needed to run workflows and custom scripts
-
Sign in to Dynatrace.
-
Go to Workflows
 .
.Make sure you're on the Workflows tab, not the Executions tab.
-
To create your first workflow, select
 Workflow in the upper-right corner of the page.
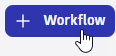
The workflow editor opens.
-
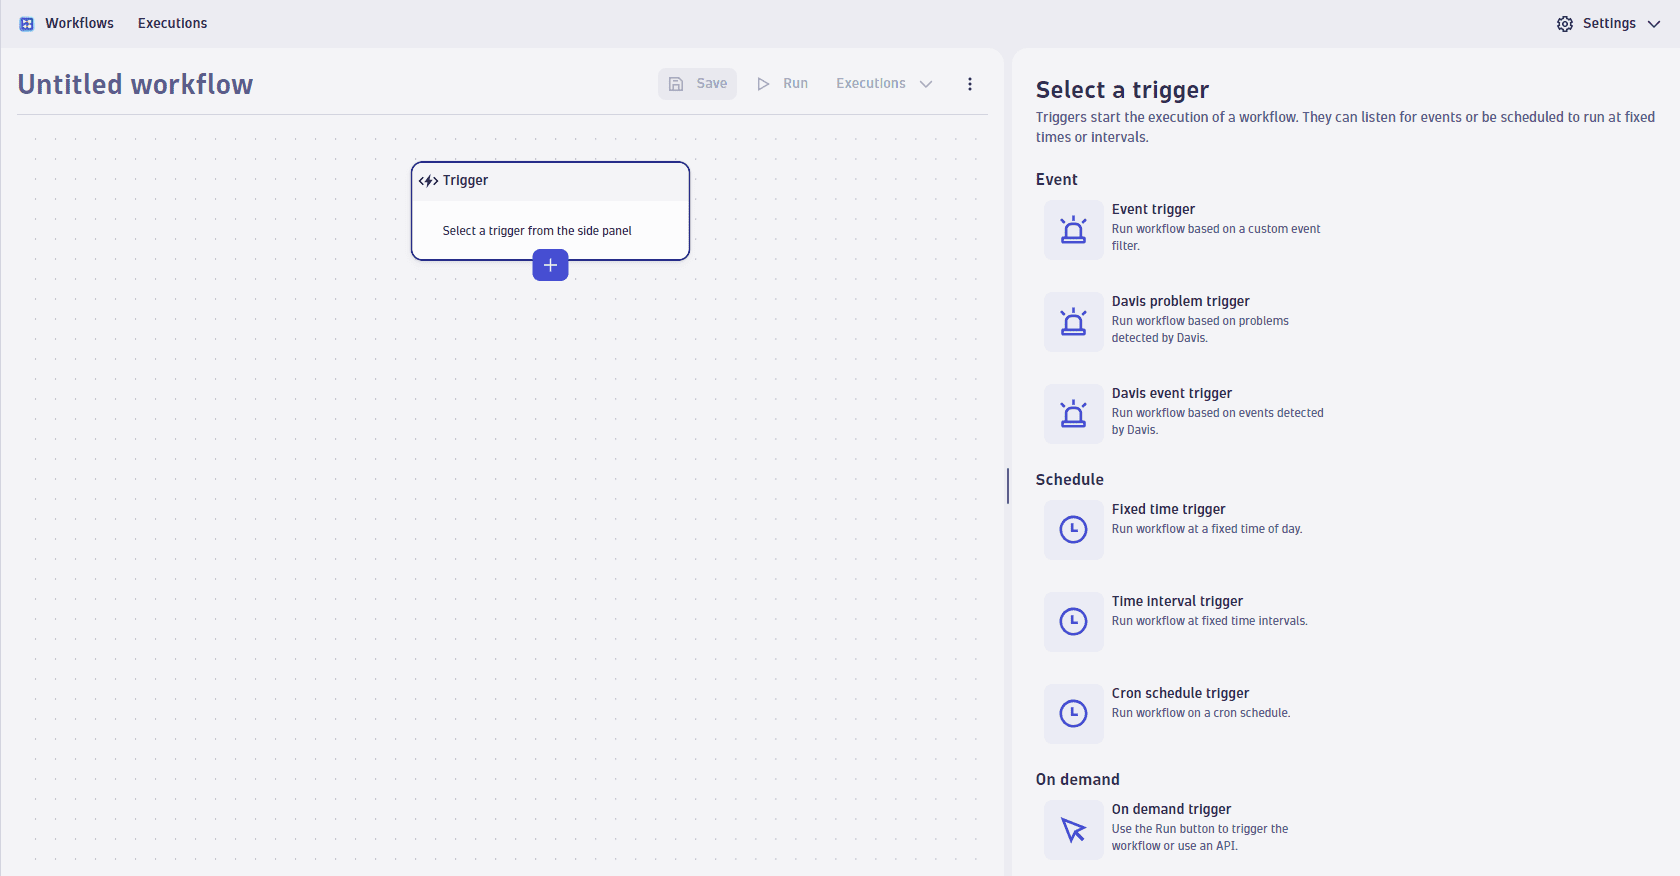
Select the workflow title (default:
Untitled workflow) and enter a custom name such asQuick Start.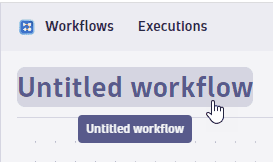
-
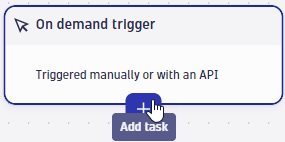
In the Select a trigger pane on the right, scroll down and select On demand trigger. We are going to create a workflow that you run manually via the web UI or REST API.
-
To add the first task to your workflow, hover over the trigger node of the workflow graph and select
.
-
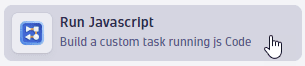
In the Choose action pane on the right, select Run Javascript.
The workflow now has its first task and shows the input configuration on the right. It comes with sample code that retrieves who started the workflow execution and logs it.
-
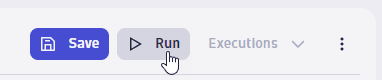
Select Run to execute the workflow.
The first time you run a workflow, you are prompted to authorize the automation service to run a workflow as your user. Select Allow and run if you agree with that. You can always restrain the configuration in the settings.
Error?If you get a "forbidden" error when you run your workflow, check your authorization settings.
- In the upper-right corner, select Settings > Authorization settings.
- Verify that you have all required permissions.
Run the workflow again.
-
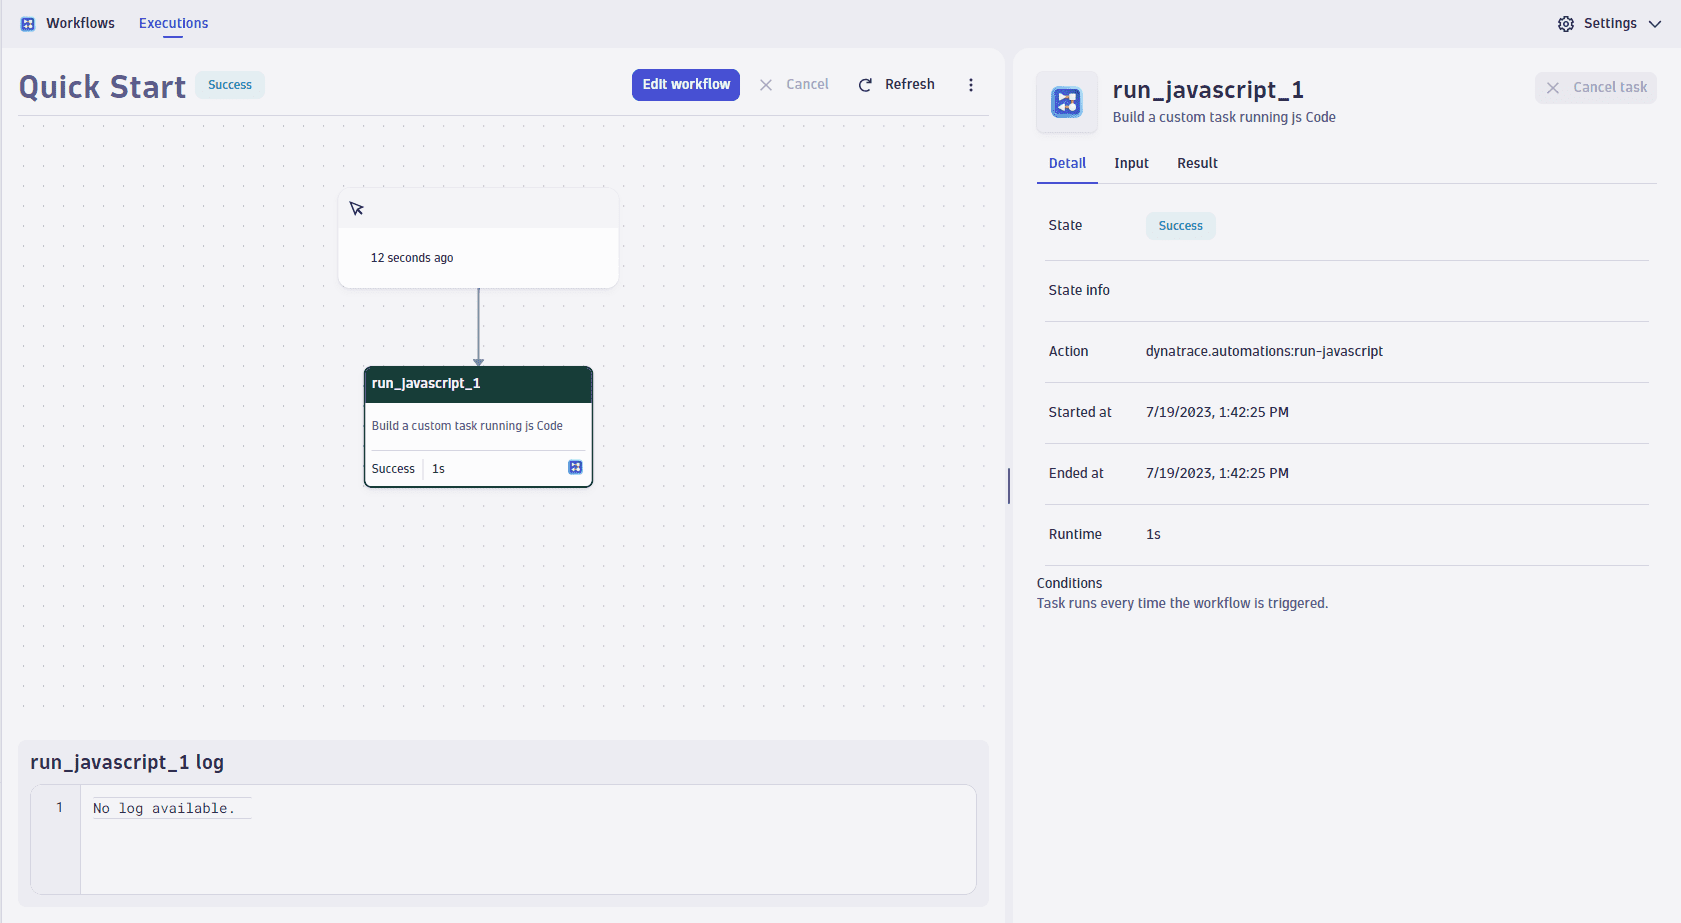
The app switches to the workflow monitor, which is a live view of the execution you just started.
This view automatically refreshes until the execution reaches a final state.
- The right pane shows details of the execution.
- While the workflow is executing, you should see State set to
Running. - When the execution is finished, you should see State set to
Success. - If you don't get
Success, State info will tell you why.
- While the workflow is executing, you should see State set to
You can inspect the details of individual tasks by selecting them in the graph.
You have successfully run your first workflow.
Multiple Tasks
Now that you have verified that you can run workflows and custom scripts, let's add another task and send a custom event to Grail.
Now we're going to learn how to:
Edit a workflow
Add more tasks to a workflow
Rename a task
Run JavaScript from a task
Run DQL from a task
-
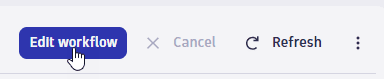
From the workflow monitor, select Edit workflow to return to the workflow editor.
-
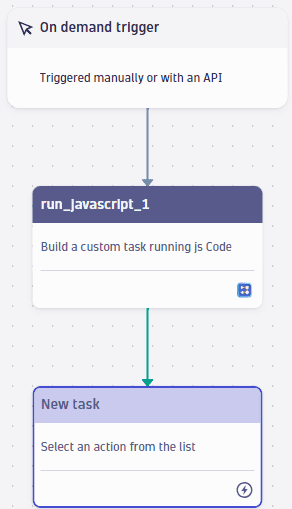
To add another task, hover over the node to which you want to append it and select
.You can add tasks at any point in the workflow. You can also have multiple tasks in parallel. Let's add one after our first
run_javascript_1as we plan to use some information from here later.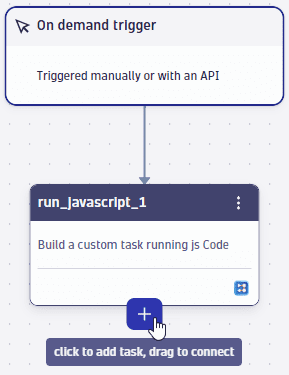
-
In the Choose action pane on the right, select Run Javascript.
-
Now is a good opportunity to give this task a better name by selecting the task name in the upper-right (similar to how we changed the workflow title) and changing it to
ingest_custom_event.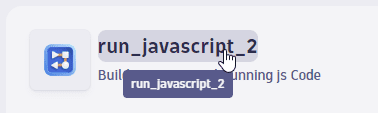
-
As the name suggests, we want the second task to ingest a custom event to Grail using a Dynatrace API available for import in the Run Javascript action. To do that, copy the following JavaScript code and paste it into the Source code box to replace the default sample.
import { execution } from "@dynatrace-sdk/automation-utils";import { eventsClient, EventIngestEventType } from '@dynatrace-sdk/client-classic-environment-v2';export default async function ({ execution_id }) {const my_event = {"eventType": EventIngestEventType.CustomInfo,"title": "Workflows quickstart sample event","properties": {"triggeredBy": "tbd"}}const event_result = await eventsClient.createEvent({body: my_event})console.log(event_result)return event_result}This will create a CustomInfo event, log the API response, and return it. By returning data, it will be made available as the result of the task and can be used by subsequent tasks. For more information on the SDKs, see Dynatrace Developer.
-
To verify your changes, save and run the workflow like before. Since we write new events to the Dynatrace API, your user requires the necessary permissions (
storage:events:write) to do so and also allow the AutomationEngine to act with that permission (we did allow the AutomationEngine to act on our behalf in the Hello World example). A lack of permissions will be reflected in theingest_custom_eventtask status and logs. -
Once the execution is successful, let's go back to editing the workflow and use the task results.
Our sample
run_javascript_1returns thetriggeredByinformation, which we will now use as payload in our custom event. Select theingest_custom_eventtask (our second task), copy the following JavaScript code, and paste it into Source code to replace the current contents of theingest_custom_eventtask.import { execution } from "@dynatrace-sdk/automation-utils";import { eventsClient, EventIngestEventType } from '@dynatrace-sdk/client-classic-environment-v2';export default async function ({ execution_id }) {const exe = await execution(execution_id);const result = await exe.result("run_javascript_1");const my_event = {"eventType": EventIngestEventType.CustomInfo,"title": "Workflows quickstart sample event","properties": {"triggeredBy": result.triggeredBy}}const event_result = await eventsClient.createEvent({body: my_event})console.log(event_result)return event_result}This time we grab the execution details, pull in the results of the
run_javascript_1task, and use thetriggeredByinfo as the event payload in line 13."triggeredBy": result.triggeredBy -
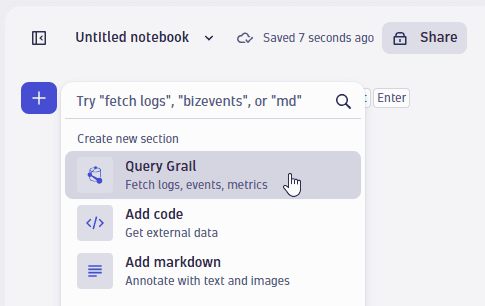
Run the workflow again and then take a look at our custom events. Go to the Notebooks app and query Grail for our custom events.
 fetch events| filter event.type == "CUSTOM_INFO"| filter event.name == "Workflows quickstart sample event"
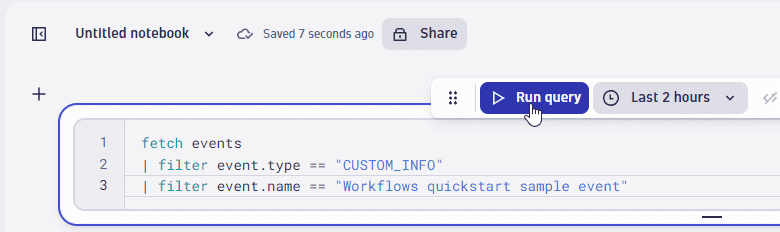
-
Finally, let's add another task at the end of our Quick Start workflow.
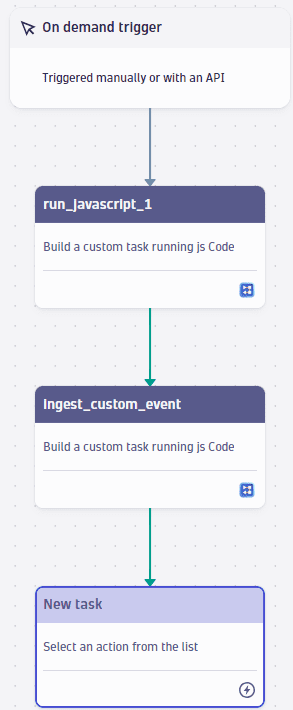
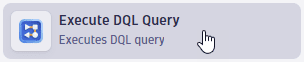
This time, select the Execute DQL Query action.
To use it to get the number of our Quick Start events, copy and paste the following DQL into DQL query box for the last task.
fetch events, from:now() - 24h| filter event.type == "CUSTOM_INFO"| filter event.name == "Workflows quickstart sample event"| summarize EventCount = count()| fields EventCountEvents might not show up immediately in Grail after ingesting them as they have to pass through several processing steps.
Automatic Triggers
The only thing left is add an automatic trigger to our workflow.
Learn how to trigger a workflow automatically instead of manually
-
From the workflow monitor, select Edit workflow to return to the workflow editor.
-
Select the trigger node in the graph (it should say
On demand triggerin our example). -
In the trigger details on the right pane, select Change trigger and confirm that you want to change the trigger. This action discards the current trigger definition.
-
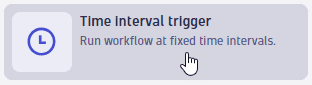
In the Select a trigger pane, select Time interval trigger.
-
Leave the interval value (Run every (mins)) as the default (
30minutes). -
Save the workflow.
With this change:
Instead of running on demand, your workflow will automatically start every 30 minutes.
- Each execution (every 30 minutes) will be listed in the Executions table. Select Executions at the top of the editor to see the table.