Azure SAML configuration for Dynatrace
Follow the examples below to configure Azure as the SAML identity provider (IdP) for Dynatrace SSO.
This page describes the IdP (Azure) end of your SAML SSO configuration, not the Dynatrace end. Use it as part of the entire SAML configuration procedure for Dynatrace SaaS if you're using Azure.
While we do our best to provide you with current information, Dynatrace has no control over changes that may be made by third-party providers. Always refer to official third-party documentation from your IdP as your primary source of information for third-party products.
Configuration
-
In the Azure portal, choose
Enterprise Applicationsfrom the Azure Active Directory. -
Select New Application and choose
Add from the gallery, then typeDynatracein the search box and then select Dynatrace.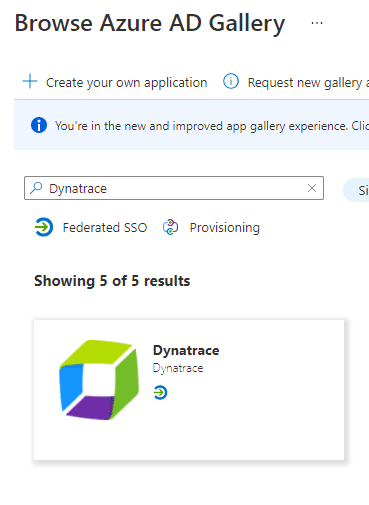
-
Type the name of the application (for example,
Dynatrace) and select Create to add the application. The Overview page of your application will open automatically.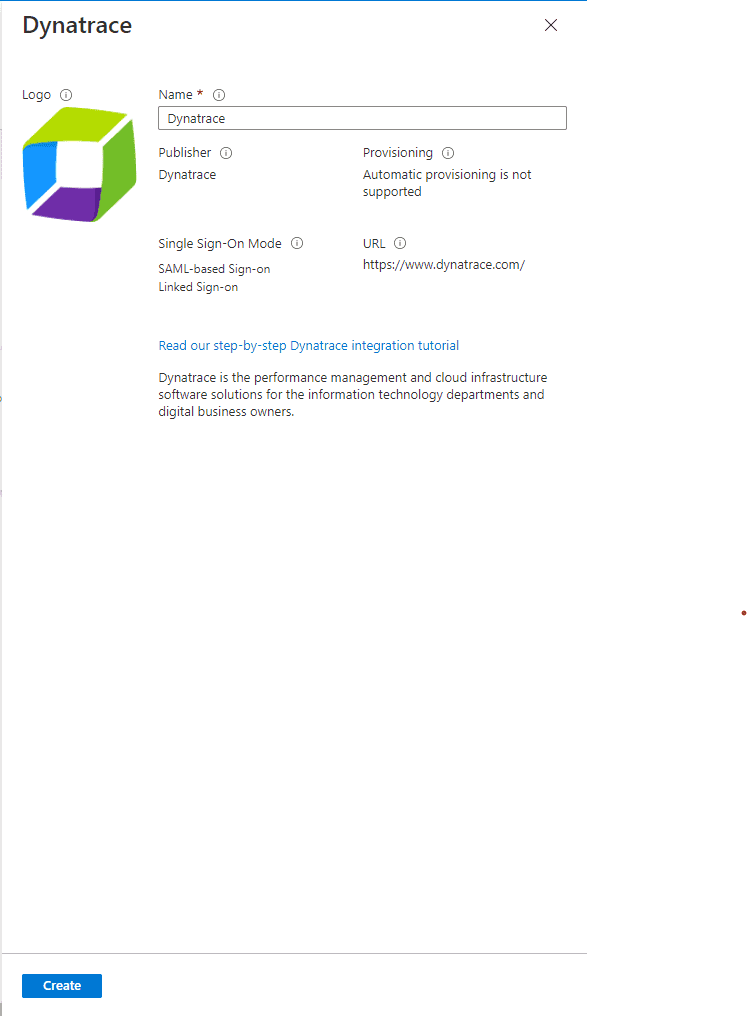
-
Choose Single sign-on from the application’s left-hand navigation menu and choose
SAMLas the single sign-on method.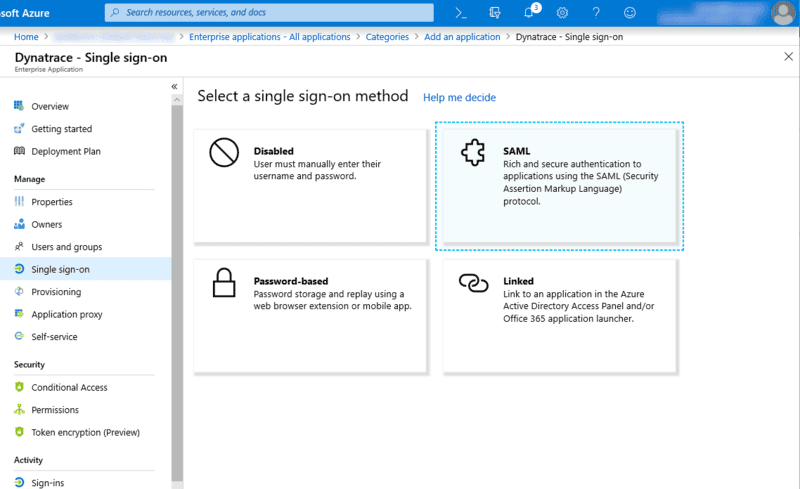
-
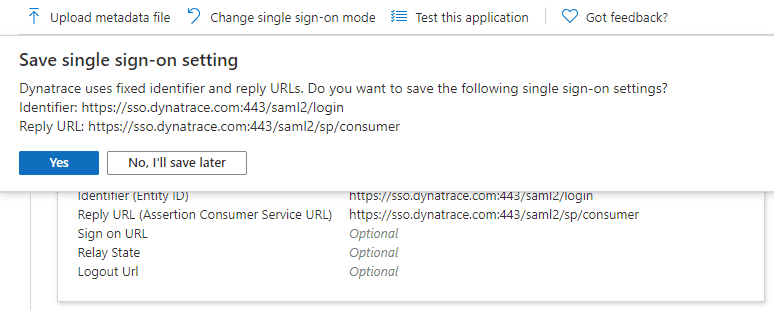
At Save single sign-on setting, select Yes.
-
In Basic SAML Configuration, set Logout Url to
https://sso.dynatrace.com:443/saml2/sp/logoutand save your changes.
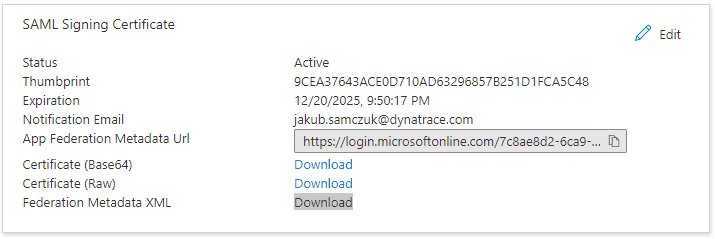
-
In SAML Signing Certificate, download Federation Metadata XML.
-
Choose User and groups from the application’s left-hand navigation to configure user access to the Dynatrace application.
-
In Dynatrace Account Configuration, provide the metadata you downloaded as Federated Metadata XML and set the following attributes:
First name attributehttp://schemas.xmlsoap.org/ws/2005/05/identity/claims/givennameLast name attributehttp://schemas.xmlsoap.org/ws/2005/05/identity/claims/surnameSecurity group claim attributehttp://schemas.microsoft.com/ws/2008/06/identity/claims/groups
Note that in the SAML message returned by Azure, groups are identified with an ObjectId, not a group name. When configuring the user group mapping, make sure you use ObjectId in Security group claims.